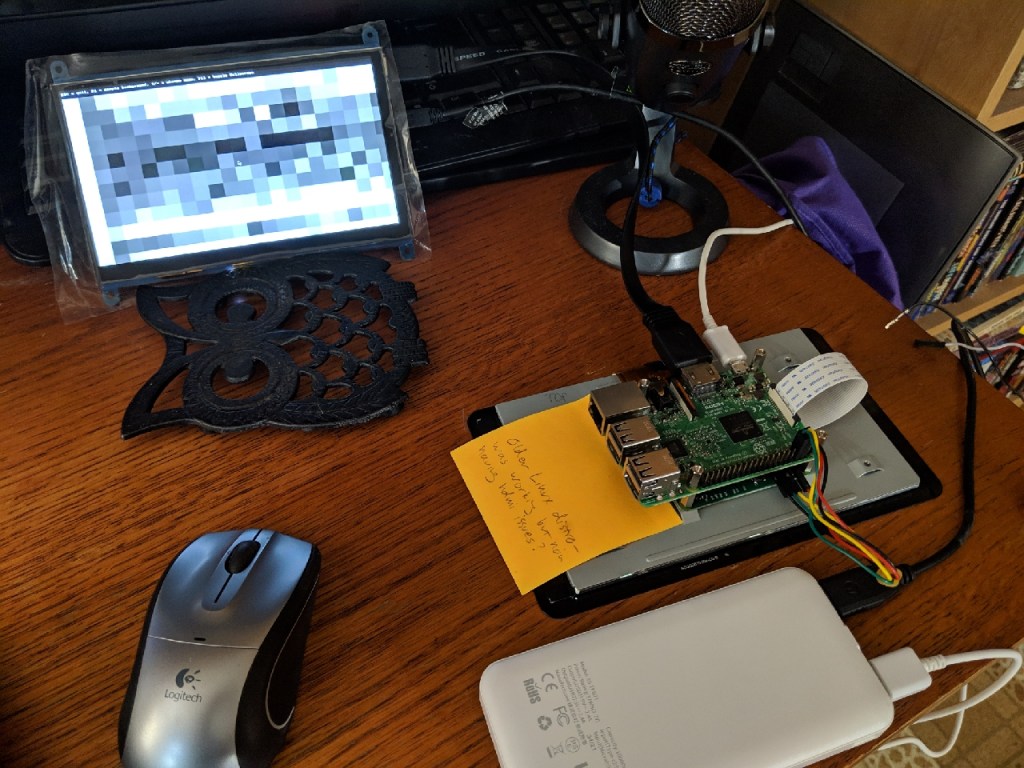
Recently I came across a project to turn the Raspberry Pi touchscreen into a 2D capacitive imager. The creator showed how it could be used to see ghostly, pixelated images of wood and metal elements within a sheetrock wall. As someone with a “complicated” house, I struggle with traditional stud finders. I thought that something like this looked pretty cool, and potentially useful! My version of this project is in the video below:
For the hardware side of this, I used the following:
-Raspberry Pi 3 B (Other models might work, but this is the same as the original project used).
-Official Raspberry Pi 7″ Touchscreen
(Note, only older ones with the FT5406 chip will work!)
-Generic 7″ HDMI touchscreen
-Screen protector for above (since we’ll be sliding it on surfaces)
-(9.0″ x 5.9″ x 3.4″) ABS project enclosure (other sizes might work).
-Right-angle HDMI adapters (upwards 90).
-USB extensions x2
-Mini-USB extension (for charging)
-USB battery pack with two high-power output ports.
-Square U-bolts (x2) for handles
-Momentary push button with jumper cables for shutdown trigger.
I used Rasbian Stretch as the OS on the Pi. It seemd to be the right age to work with the 2016 code, but still new enough to work with the Pi 3B. I changed the /boot/config.txt and raspi-config settings as described on Optisimon’s page to enable I2C and disable touch input from the bottom screen. I also added a line to config.txt enabling the shutdown overlay. I also updated the console version of raspi-config and enabled Full KMS (Under GL settings) to get the external HDMI screen to take priority over the displayport screen.
For the software, I used Optisimon’s code, with a few tweaks as follows:
-In FT5406.hpp, changed line 83 to “for (int rowAddr = rows; rowAddr > 0; rowAddr–)”
-In SDLEventHandler.hpp, changed line 55 to “_zoom = std::min(50, _zoom + 1);”
(These changes were for my preferred use and display style. The first reverses the scan order so the image is the same horizontal orientation as the screen on the back. The second change increases the max zoom to fit my display screen, and might not work with all screens.)
To install the code I did the following (these steps may be obvious to others, but they weren’t all obvious to me!):
-sudo apt-get update
-sudo apt-get upgrade
-sudo apt-get install xdotool
(You can also install i2c-tools, or the prepare step below will do it for you)
-“make prepare” from within ft5406-capacitive-touch/CapacitanceVisualizer
-“make install” from same directory
(If any changes are made and you need to recompile, you’ll also need to make a
change to “main.cpp” and then make again).
-I could then run CapacitanceVisualizer to display the scan.
For ease of use, I made a shell script (“launch.sh”) that called the program and maxed out the zoom, as follows:
“!/bin/sh
/home/pi/ft5406-capacitive-touch/CapacitanceVisualizer/CapacitanceVisualizer &
sleep 10
xdotool search –name CapacitanceVisualizer key F11 F1 KP_Add KP_Add KP_Add KP_Add KP_Add KP_Add KP_Add KP_Add KP_Add KP_Add KP_Add KP_Add KP_Add KP_Add KP_Add KP_Add KP_Add KP_Add KP_Add KP_Add KP_Add KP_Add KP_Add KP_Add KP_Add KP_Add KP_Add KP_Add KP_Add KP_Add KP_Add KP_Add KP_Add KP_Add KP_Add KP_Add KP_Add KP_Add KP_Add KP_Add KP_Add”
(Yes, I realize there are probably less horrible ways to do this, I just don’t know what they are!)
I also made a .desktop shortcut and placed it in /etc/xdg/autostart, with the following contents:
[Desktop Entry]
Type=Application
Encoding= UTF-8
Name= CapacitanceVisualizer
Exec=/home/pi/launch.sh
StartupNotify=true
With this setup, I can turn on the USB battery pack, and the scanner box boots up, autoruns CapacitanceVisualizer, goes full screen, and removes the background noise, all without any further input from me. I have some USB extensions to the outside of the case, so I can connect a keyboard / mouse if desired, but for the intended use of this device, I shouldn’t really need to.
Since Raspberry Pi is too cheap to have an on/off switch, I connected the pushbutton to GPIO pin 21 and the adjacent ground, and added the following to the end of /boot/config.txt:
dtoverlay=gpio-shutdown,gpio_pin=21
I might add another physical button tied to the GPIO to send an F1 keypress for further background noise reduction.

This write-up is the “short” version of my efforts. I ran into various problems and hiccups along the way, possibly related to the mishmash of official and cheap imported hardware I was using, or the fact that this whole project relies on unsupported, undocumented features well outside the intended use of the hardware. I also ran into some of the typical Raspberry Pi “quirks” like refusing to boot for random reasons, flipping screen orientation, etc. My video on the project was at least twice as long before I edited out all the dead ends and failures!
Here are some additional resources and background info on this project:
Optisimon’s website on the original project
Github code, also by Optisimon
Capacitive sensing from Wikipedia.
Hackaday article on the original project.
2006 research paper on capacitive imaging.
Electrical Capacitance Tomography (industrial scanning technique)
